

 |
| Markings on Glass can be Difficult |
It can be difficult to capture some markings on jewelry, glass, and porcelain since they are usually etched or engraved very small and with little color differentiation. Putting images of these marks on your listings will give buyers the confidence to bid on your Ebay items instead of passing you over. I'll give you a few tips that should help you get these markings in most situations.
The first absolutely essential is to use the macro or super macro mode on your camera. Take a look at your user manual or play around with the camera to find the setting. On my cameras, it's indicated with a flower symbol. Your manual will also help you figure out the distance for which you need to use the macro setting in order for the camera to focus.
Most digital cameras should have this feature, even the basic models. I have a digital SLR as one of my cameras, but it's older and needs a special lens to get really close, so this is where the manual will come in handy as to letting you know if your camera is capable.
The next thing you must do is gather lots of light. If it's nice outside, that's a great place to take pictures. Otherwise, since the area you're working with is small, you should be able to gather enough lamps together and point them at the same place. Studio in a box works well, but you still may need an additional lamp.

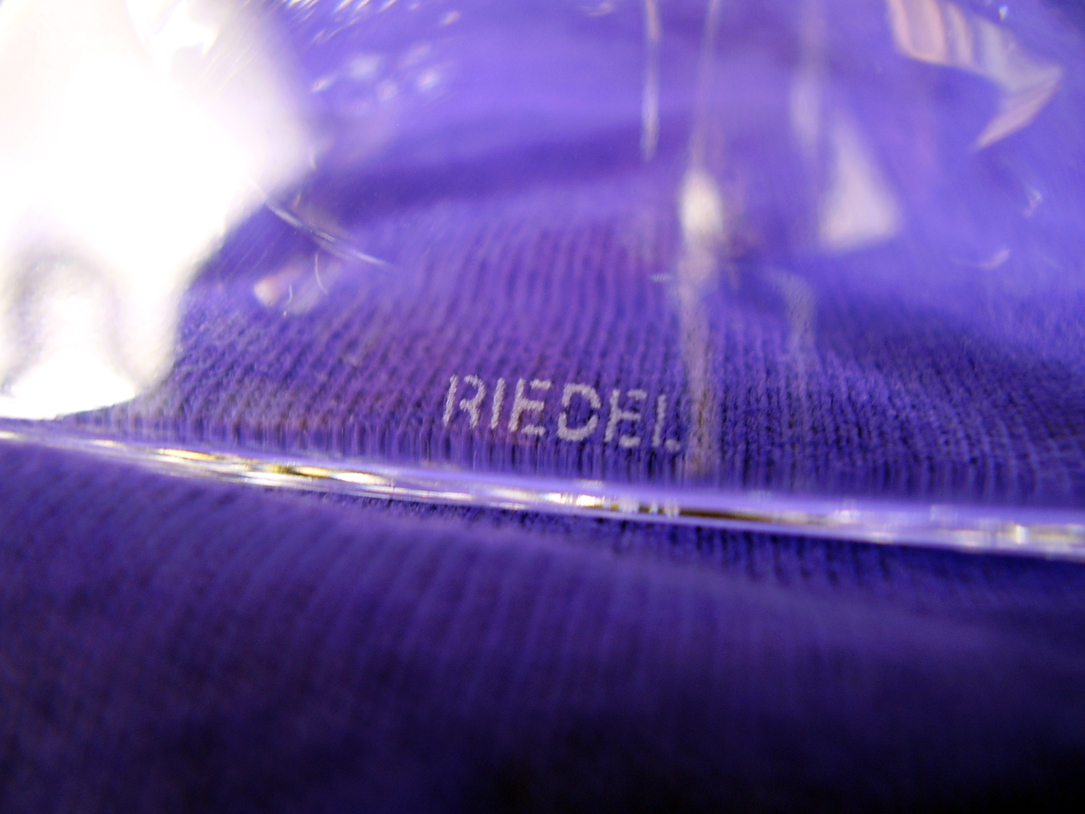
If what you're shooting is clear (like the glass picture above), you'll want a background that pops the marking. In this case, I used a purple t-shirt. White probably would not have worked, and a really dark color could have make the marking darker. If you're just starting out, try a few different fabrics or paper to see what works.
You can use a tripod to keep the camera steady, but I find it's not really necessary if you have enough light. It's best not to use zoom when you are first starting out because it will alter the resolution of the image. You might decide to use it later after you get more experienced, but initially you just get as close to the item as you can. Most digital cameras have you push the shutter button halfway to focus (make sure you're using auto focus) and will beep or otherwise indicate you've successfully focused. If the camera will not focus, try backing off a little and see if that helps, you may be out of the range of possible distance. Keep backing off until the camera focuses. Once you get a lock on the item, finish taking the picture. You might want to take a couple more at this point.
Sometimes you are dealing with very light markings that the camera's auto focus doesn't pick up. In this case, I'll take a little piece of paper with typing or dark writing on it and put it in front of the mark (make sure the paper is actually touching the object), focus the camera, then remove the piece of paper. Make sure the piece of paper doesn't take up the entire frame or else the brightness of the final picture may end up being too dark.

If I can get a picture of the item in focus, but it's just too vague, I may sharpen and enhance the contrast a bit in Photoshop (or whatever your image editing software of choice is). When I do this I will disclose in the listing that the marking was enhanced to make it more visible.
And sometimes, although I hate showing off my bad (or nonexistent) manicure, I hold the item so I can angle it to the light to make the marking stand out. I try to keep as little of my hand out of the picture as possible. Obviously, I didn't do a great job of in this example.
Hope this helps and please feel free to share your tips as well!
No comments:
Post a Comment